Cyberpunk 2077 Phantom Liberty Spy in the Jungle Gig Guide: Choices, Loot, and Rewards
Master Cyberpunk 2077: Phantom Liberty's Spy in the Jungle gig, from Katya's choice to the biomonitor endgame, and net the best rewards.
Let me shoot straight with you, chooms. Spy in the Jungle is one of those Phantom Liberty gigs that looks like a straightforward missing-persons job but turns into a real moral maze before you can say preem. Even in 2026, this gig still holds up as one of the more memorable detours in Dogtown. If you have already finished the Get It Together main mission and you are hanging around Night City, keep an eye out for this one. Follow the waypoint to Room 203 of the Paradise Hotel, where two Brazilian Intelligence agents are waiting. They give you the rundown on a guy named Mark Bana and send you off to find him.
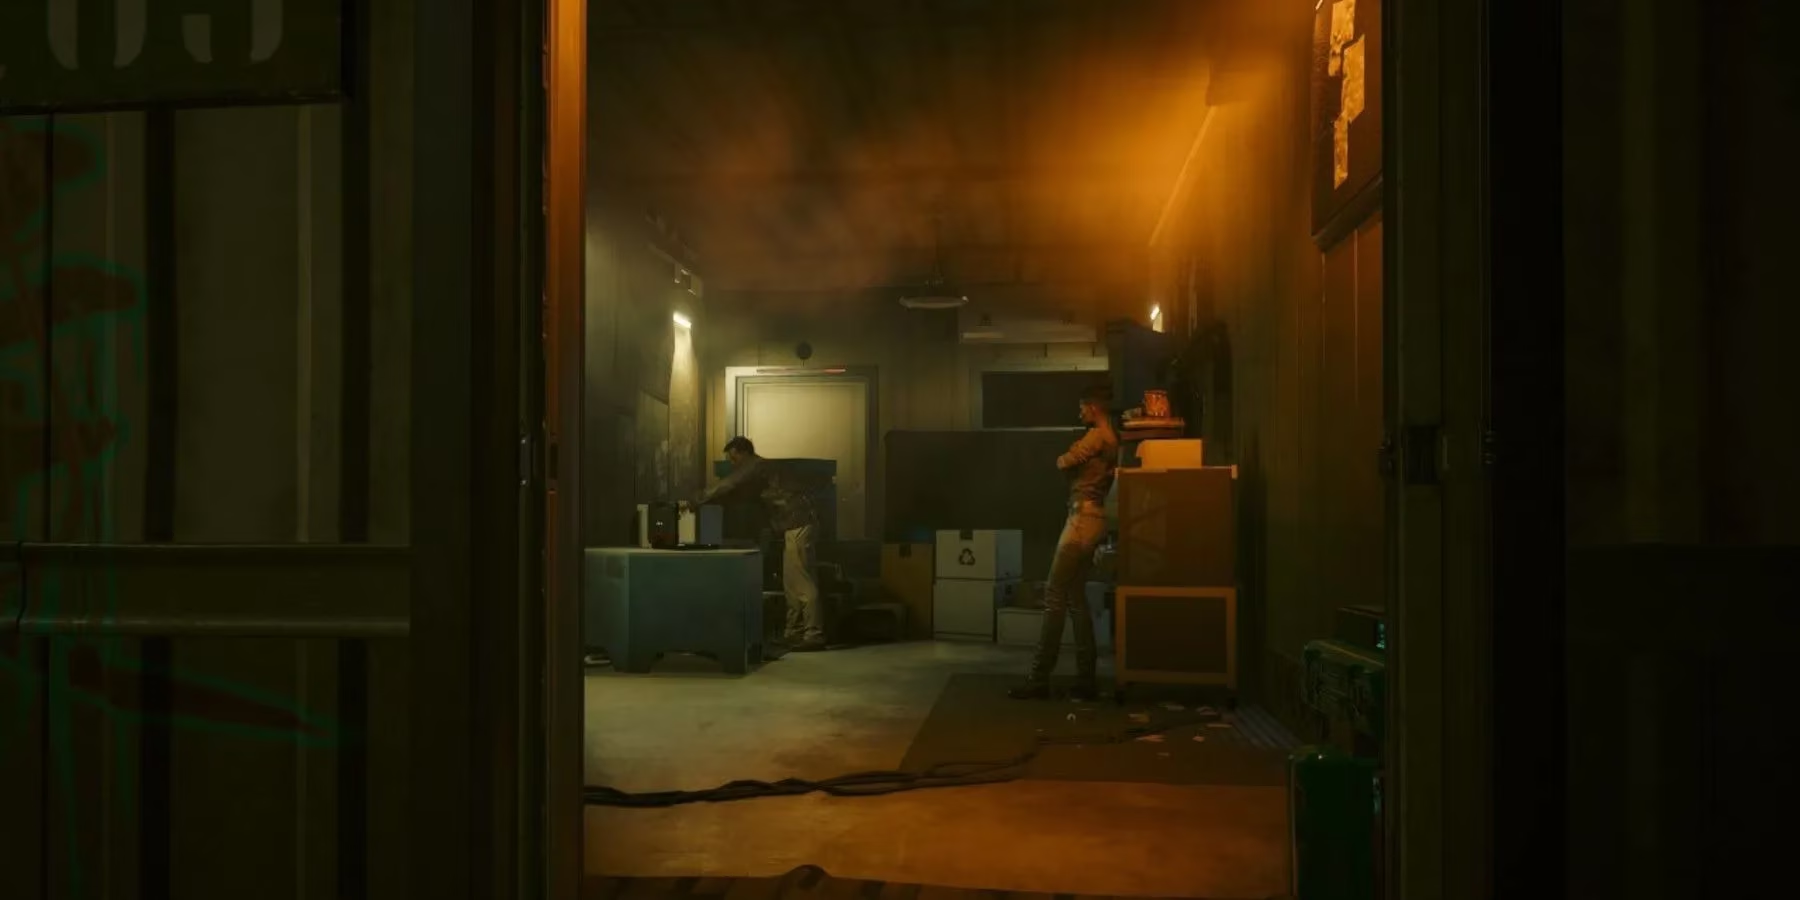
The hunt for Bana leads you to Organitopia. Ride the elevator up to Terra Cognita if the waypoint tells you to, and when you reach the building, force open the shutters out front. Go inside and connect to the wall panel on your right. That gives you access to Organitopia's interior. From there, follow the waypoint into the main museum hall, climb the flight of stairs, and get ready to throw down with Ribakov. Take him out, then make sure to loot his body. He drops the Pizdets Iconic Smart Submachine Gun, which is a nice little bonus for your trouble. After the dust settles, keep following the updated waypoint until you meet a stranger named Katya.
The Katya Crossroads
Here is where the gig gets spicy. Katya has Bana's biomonitor, and you have two ways to play it: strike a deal with her or flatline her like the client asked. Let's break down both options so you do not get caught with your pants down.
-
Let Katya go: In exchange for her walking away alive, she hands over Bana's biomonitor. On top of that, she gives you information about a hidden stash in Dogtown. This kicks off the Money For Nothing mission, and that stash contains 8,500 Eurodollars plus a face piece that reduces quickhack upload time. That face piece is genuinely handy for netrunner builds, so this is the option I personally roll with.
-
Kill Katya: You side with the client and execute her. You can loot Bana's biomonitor from a nearby case, but you do not get the stash intel. That means the 8,500 eddies and the quickhack-boosting face piece become a pain to track down, if you can grab them at all.
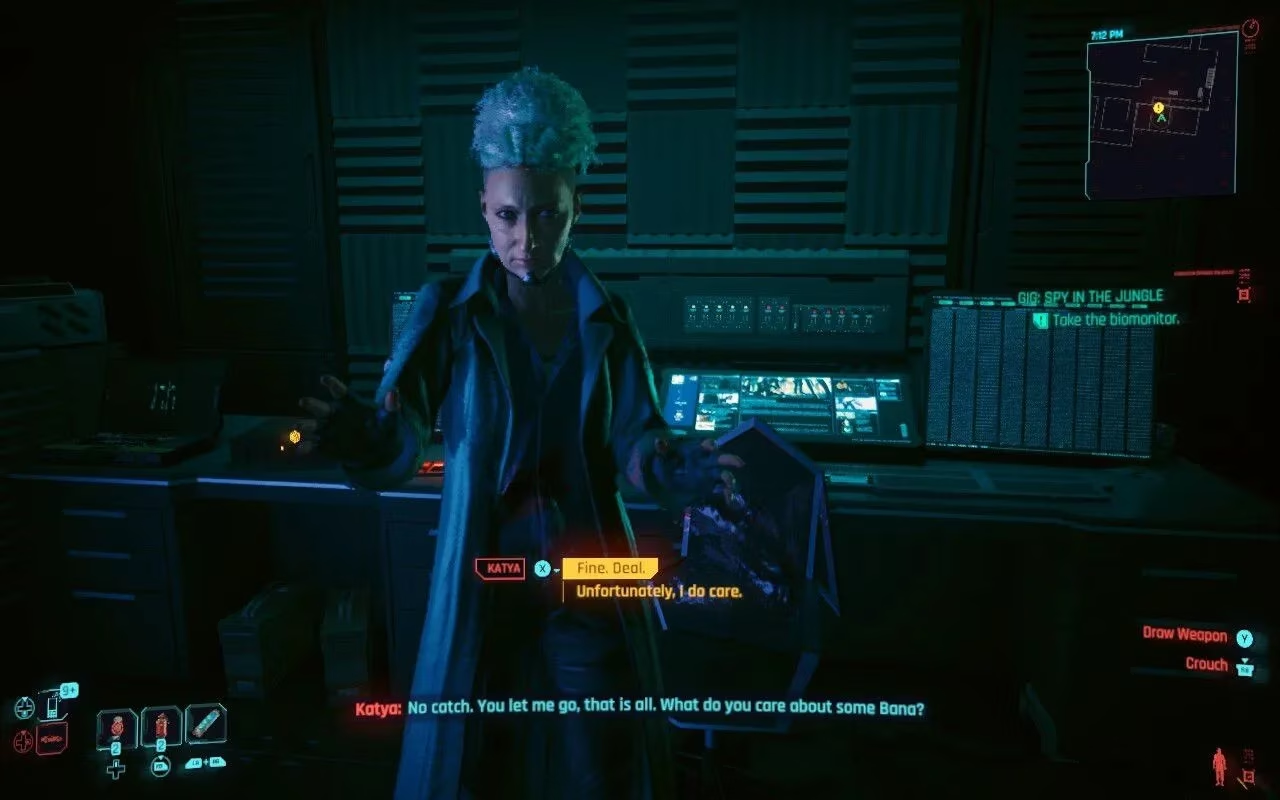
If you want to squeeze every last eddie out of this gig, letting Katya go is the no-brainer. But hey, if you are deep into roleplaying a V who puts the client's orders above everything else, go ahead and pull the trigger. No judgment from me, choom.
The Biomonitor Endgame
Once you have the biomonitor in hand, you get a message from Steven, one of the agents. He explains that handing the biomonitor to Ana could have some messy consequences. From here, you have a couple of routes.
-
Drop it at the designated point: This wraps the gig immediately, and you get a clean 4,000 eddies as your reward. Easy money, no fuss.
-
Take it back to Room 203 at Hotel Paradise: If you are curious about the fallout, bring the biomonitor back to the agents. You get extra dialogue about what could happen if Ana gets her hands on it, and then you can choose to hand it over or destroy it. Neither choice changes your rewards, but it does shape how Ana and Steven react to you down the line.
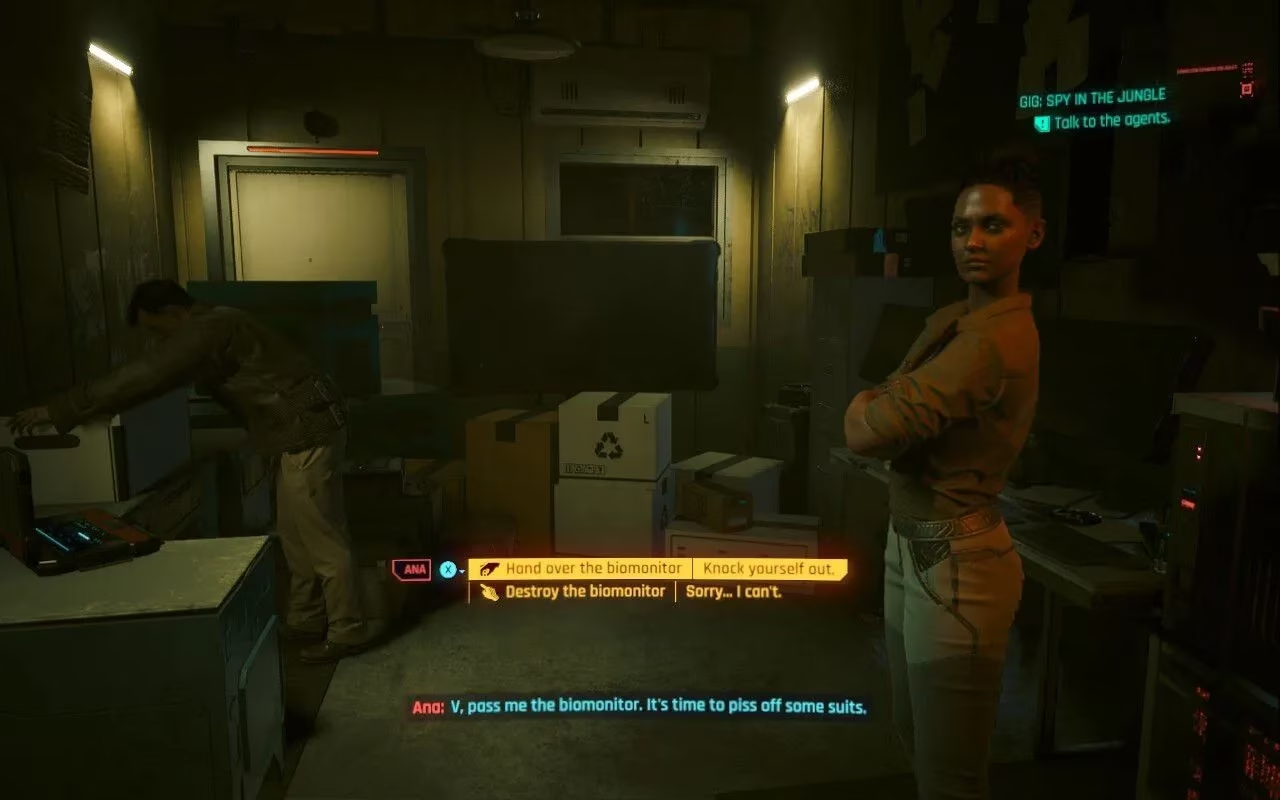
These final decisions are mostly for roleplay flavor. The real mechanical decision happened back with Katya. Still, if you care about the story ripples between SovOil and the Brazilians, it is worth thinking about whether your V would hand over that biomonitor or smash it to pieces.
Reward Comparison
Here is a quick cheat sheet so you do not miss the good stuff.
| Choice | Biomonitor | Extra Stash Intel | Money For Nothing Mission | Eddies from Stash | Face Piece |
|---|---|---|---|---|---|
| Let Katya go | Yes | Yes | Yes | 8,500 | Yes |
| Kill Katya | Yes | No | No | Missed | Missed |
The base gig completion always nets you 4,000 eddies if you use the drop point, regardless of what you did with Katya. So really, letting Katya walk is the move if you want maximum loot.
Final Word
Spy in the Jungle is a short gig, but it is packed with enough choice and consequence to keep things interesting. My advice? Take the deal with Katya, grab the stash, enjoy the quickhack-boosting face piece, and then decide the biomonitor fate based on your V's personality. There is no need to overthink it, but do not leave those extra eddies on the table.
That is the whole scoop, chooms. Now get out there and make Night City your own.
Recent analysis comes from Sensor Tower, underscoring how players tend to engage most with short, choice-heavy missions that deliver clear “value spikes” (a standout weapon drop, a cash injection, or a build-defining gear piece). Framed that way, Spy in the Jungle’s Katya decision reads like a classic retention lever: letting her walk unlocks a follow-up stash payout and a quickhack-speed face piece, while the “client-first” route trades those tangible rewards for cleaner roleplay closure.